

thanhcongcraft
Member
- Tham gia ngày
- 9/3/24
- Bài viết
- 193
- Reaction score
- 0
- Điểm
- 16
Creating a mosaic picture is a fun and creative process that involves arranging small pieces of material (such as tiles, glass, or paper) to form an image.
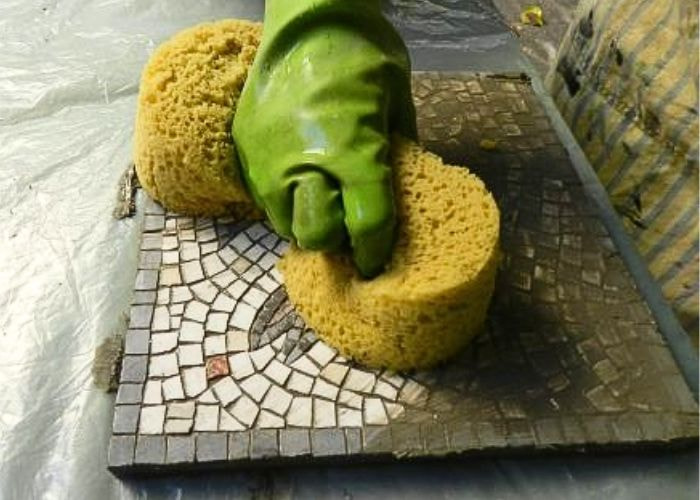
Here’s a step-by-step guide on how to make a mosaic picture:
Source: https://thanhcongcraft.com/how-to-make-a-mosaic-picture/
Here’s a step-by-step guide on how to make a mosaic picture:
Materials Needed
- Base Surface: Wood, glass, or a sturdy board.
- Mosaic Pieces: Tiles, glass, stones, or paper.
- Adhesive: Tile adhesive, glue, or cement.
- Grout: To fill in the spaces between mosaic pieces.
- Sealant: To protect the finished mosaic.
- Tools: Tile nippers, tweezers, sponges, safety glasses, and gloves.
- Pencil and Paper: For sketching the design.
- Trays or Containers: To sort and organize the mosaic pieces.
Step-by-Step Instructions
1. Design Your Mosaic
- Sketch the Design: Draw your design on paper to plan out your mosaic. This could be a picture, pattern, or abstract design.
- Transfer the Design: Use a pencil to lightly draw your design onto the base surface.
2. Prepare the Base
- Clean the Surface: Ensure the base surface is clean and dry.
- Apply Adhesive: Spread a thin layer of adhesive on a small section of the base using a spatula or a tile adhesive spreader.
3. Cut and Place Mosaic Pieces
- Cutting: If using tiles or glass, use tile nippers to cut them into the desired shapes and sizes.
- Placement: Begin placing the mosaic pieces on the adhesive, following your design. Press each piece firmly into place.
- Work in Sections: Work on small sections at a time to prevent the adhesive from drying out.
4. Let the Adhesive Dry
- Allow the adhesive to dry completely. This may take several hours or overnight, depending on the adhesive used.
5. Grouting
- Mix the Grout: Prepare the grout according to the manufacturer’s instructions.
- Apply the Grout: Spread the grout over the mosaic with a grout float, pressing it into the gaps between the pieces.
- Clean Excess Grout: Wipe away excess grout with a damp sponge. Be careful not to remove grout from the gaps.
6. Finishing Touches
- Clean the Surface: Once the grout has set, clean the surface of the mosaic with a damp cloth to remove any remaining grout haze.
- Seal the Mosaic: Apply a sealant to protect the mosaic from moisture and wear.
7. Display Your Mosaic
- Frame It: If desired, frame your mosaic for a polished look.
- Mount It: Hang or display your mosaic in your chosen location.
Tips and Tricks
- Plan Your Colors: Choose colors that complement each other and fit the design.
- Use Tweezers: For placing small or intricate pieces, tweezers can provide better precision.
- Safety First: Wear safety glasses and gloves when cutting tiles or glass to protect yourself from sharp edges.
Source: https://thanhcongcraft.com/how-to-make-a-mosaic-picture/
Chủ đề cùng chuyên mục


